
Australia is filled with passionate ‘DIYers’ similar to any other country. What makes a person who swears by DIY different from any other ordinary person is our persistence to complete a job on our own. Most people believe that such people are naturally talented. Well, to be honest, it is nothing but a common misconception. After all, nobody knows how to build a fence by birth, do they? All DIY enthusiasts have open ears for information, which is what makes them knowledgeable. Their enthusiasm to learn new skills makes them more and more demandable. If you are a DIY enthusiast looking to include a new skill to your cannon, it is time to learn how to install an engineered hardwood floor. It is not a random skill at all. With the increase in home constructions and change in personal tastes, people in Australia, especially in the urban areas, change their floorings once in every few years. Installation companies that specialize in engineered timber flooring Melbourne or any other city, use this opportunity to rob people since the latter believe that the task is impossible to doon their own. Well buddies, here is how you prove them wrong.
Clean the Floor
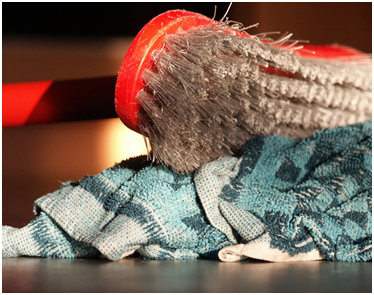
Before you move on to the installation process, you need to ensure that the floor is free of debris and dirt. Most installation companies disregard this procedure since they expect the homeowners to do it while the homeowners think vice versa. It is important make sure that the previous flooring did not leave any type of dangerous trash behind. This includes nails and stapler pins which can cause injuries. The best and easiest way to clean up the floor is to either vacuum it or sweep off all the dust. You could also wash the entire area for a more effective clean-up, but make sure that the place is dry before you start with the installation process.
Spread the Tar Paper
If you have witnessed a floor installation before, then you will know that it is customary to roll out tar paper on the surface of the floor before you install the tiles. The purpose of this procedure is to prevent or in the least, reduce the undesirable effects of moisture. The floor can create moisture which can result in condensation from below. If this happens, the floor can rot away well before its guarantee period. This is why it is important to incorporate the tar paper in between the floor and the engineered wooden flooring. It will act as an effective moisture barrier and prevent any type of decay. All you need to do is to roll out the tar papers over your clean floor and use a stable gun to fix it to the floor.
Prepare the Planks
One of the most difficult parts of assembling wooden flooring is matching the colour. Each plank will be slightly different from the other due to their natural colour differences. This advantage cannot easily be experienced, since most engineered planks can look the same. The differences can only be spotted when all boxes are opened and all planks are compared. Therefore, do not install the planks box by box. Instead, open all of them and figure out the figure variations and then start the installation since it will prevent the mismatch of planks. Even though the process can be time consuming, it will be worth the effort since the floor will look magnificent when the colours are beautifully distributed over the space.
The Installation
Always start with the longest wall in the room. Assemble the planks along the wall in a row. All floor planks are created in a tongue & groove style so you need not worry about perfect fixings. Use pneumatic floor staplers to attach planks together. It is better to use a rubber mallet to ensure that they are tightly fixed to each other. Continue the same procedure for the rest of the rows as well. You must ensure that that all nail heads are tightly incorporated to the surface of the floor. If not, it can cause serious injury.
After the installation, attach a painted baseboard to hide the pots where the planks were fixed. If you are able to finish these tasks successfully, then congratulations, you have successfully installed an engineered hardwood floor all on your own!