
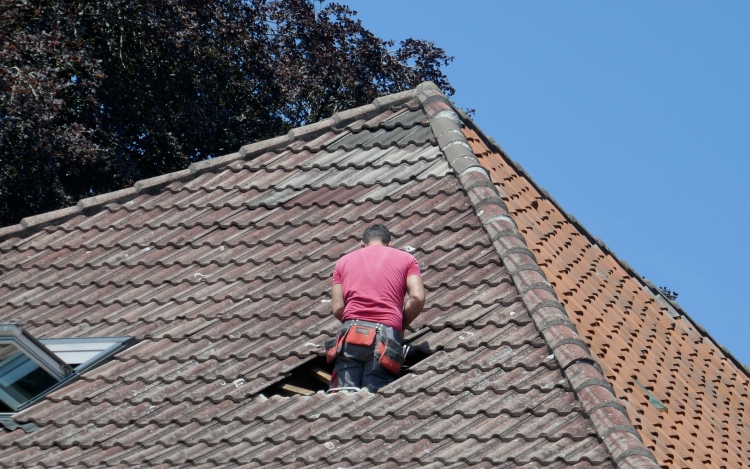
Maintaining a well-protected roof is essential for keeping your home safe and secure. Fortunately, patching up minor holes in shingles or other materials is relatively straightforward and can be done in five easy steps. Read on to find out how you can patch up that hole in your roof quickly and effectively without having to call the pros.
Prepare the Roof
Before you start patching your roof, it’s important to make sure that the area is ready for repairs. First and foremost, clear away any debris from the surrounding area so that you have a clean workspace. Then, use an old toothbrush to brush away any dirt and dust from around the hole in order to ensure a tight seal when you patch it up. Once you’ve cleaned the area, use a mild detergent and warm water to wash away any residue before drying it off with a soft cloth.
Safety is paramount when prepping a roof for repair. It’s important to wear protective gear such as gloves, boots, and eyewear when cleaning the area around the hole. Make sure you have someone spotting you from below if you’re working at heights. If necessary, use extension ladders to access higher parts of the roof and double-check that all anchors are secure before standing on them.
Always be sure to check that your tools are in good condition and take extra care when handling sharp objects, such as blades or nails. Make any repairs necessary to the roof surface prior to patching up the hole. Once you’re satisfied with the preparation work, you can move on to the actual repair process.
Find the Right Supplies
Next, it’s time to gather the materials that you’ll need for the job. You’ll need roofing cement, a patch material that is appropriate for the type of roofing you have (e.g., shingle repair tape), and a few tools such as a putty knife or trowel. Make sure to double-check that your materials are compatible with the existing roof before you get started.
When looking for the tools needed to patch a roof, it’s best to visit your local hardware store or home improvement center. Here you’ll find all the materials and supplies necessary for roof repairs, as well as knowledgeable staff who can provide advice on how to fix specific problems.
Additionally, many online retailers also carry roofing supplies, allowing you to shop from the comfort of your own home. Be sure to double-check that the products you purchase are suitable for your particular roof and always read instructions carefully before using any products or tools. With the right supplies in hand, you’re ready to start patching up that hole.
Cut the Patch
Once you have your materials ready, it’s time to cut the patch. You’ll want to make sure that the patch is slightly larger than the hole in order to ensure a tight seal when it is applied. Once you have marked out the appropriate size on your patch material, use a sharp utility knife or scissors to cut out the shape and set the patch aside.
Secure the Patch
Now that you have a patch ready to go, it’s time to apply it. This step will require some physical strength, so make sure to wear protective gloves if you’re doing this job yourself. Begin by spreading a generous layer of roofing cement around the hole before pressing the patch firmly onto the area. Use your putty knife or trowel to press down the edges, making sure that there are no gaps. Use a damp cloth to wipe away any excess material and leave the patch to dry so it can be as secure as possible
Seal Around Edges
After you have applied the patch, it’s important to ensure that it is properly sealed. Once again, use your putty knife or trowel to spread a generous layer of roofing cement around the edges of the patch for an extra bit of security.
Once you have applied the roofing cement and sealed around the edges of the patch, it is important that you allow the roofing cement to dry properly. This can take anywhere from a few hours up to a full day depending on the temperature, humidity, and amount of sunlight. To ensure that your repair job holds up over time, make sure to cover the patched area when it is drying with a tarp or cloth. This will help keep adverse weather conditions from damaging the cement before it has had time to set. Once you are certain that the roofing cement has dried, your repair job is complete.
Clean Up
Once the patch is sealed, you can use a trowel or putty knife to spread out any excess roofing cement and smooth it out. Then, use a broom or shop vacuum to clean up any dirt or debris that may have been stirred up during the process.
Once the patching process is complete, it’s important to inspect the area to make sure that your repair job was successful. Pay particular attention to any signs of water damage or gaps in the sealant around the patch. If you do notice any issues, apply an additional layer of roofing cement and press down firmly with a trowel or putty knife. You should also check the patch after a few days to make sure that it is still in good condition and hasn’t been affected by weather or other factors, such as degradation or a faulty job. With regular maintenance, your roof can stay in top shape and protected from the elements.
Following these steps will help ensure that your roof patch is secure and will last for years to come. Be sure to inspect your roof periodically to make sure there are no other issues with it, such as loose shingles or broken seals. If you do find any other major issues, be sure to call a professional in new construction roofing for assistance. With proper care and maintenance, your roof will remain in top condition for years to come.