Plaster work is likely to have certain cracks and defects due to wrong mixes. Most common materials used in plaster work include fine aggregates, lime and cement. These materials, when mixed in the wrong way might cause bonding on the walls making them extremely weak. The wrong mixing causes a kind of hollow space in between the finishing and the walls resulting in the finishes coming off the walls. There are various other defects that can also be caused due to the movement of building structure at the time of settlement. There are cracks that appear on wall surface of beams. The materials used for plaster restorations and repairs need to be selected very carefully. Post selection, correct mixes need to be done. Three parts of sand and one part of cement is mixed in the form of mortar ensuring adequate bonding. It is also important to prepare the surface of the walls that need repairs thoroughly. Proper hacking needs to be done for offering a kind of rough surface.
Steps that Need to be Followed :
There are a number of steps that need to be followed in plaster restorations and repairs. Following some important steps can help an individual in getting the desired results within no time at all. Plaster work restoration and repair involves a certain technique and if the steps are followed carefully, defects and cracks in plaster work can successfully be patched. Let us have a look at the important steps.
Preparation : A putty knife needs to be used for chipping crumbling or loose plaster with only solid plaster remaining on the wall. You need to be very careful if you get hold of a seriously damaged lath that need to be repaired instantly and prior to repairing the plaster work. This calls for the services of a skilled professional.
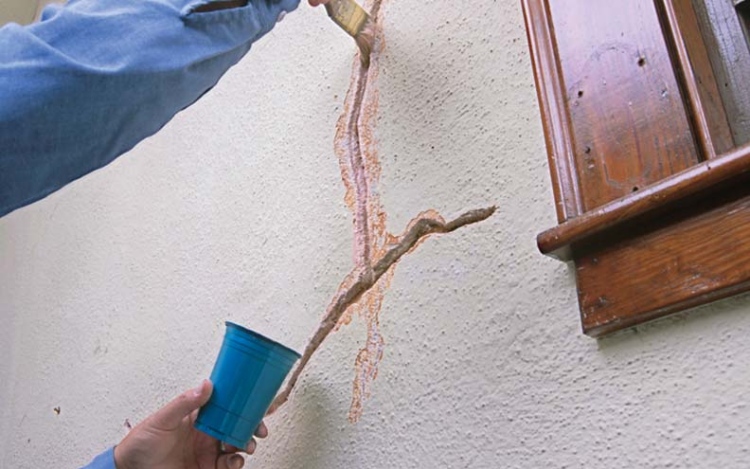
Undercutting the Cracks : All cracks and defects in the plaster work need to be undercut. Undercutting is a procedure involving the removal of old and intact plaster found along the interior side of the cracks. This helps in securing the patching material used as filler to solid plaster in the opening. A putty knife or beverage opener can be used for scraping away plaster under the rim of the crack. This scraped area needs to be beveled into a V shape. Plaster dust in the undercut area needs to be vacuumed or blown out.
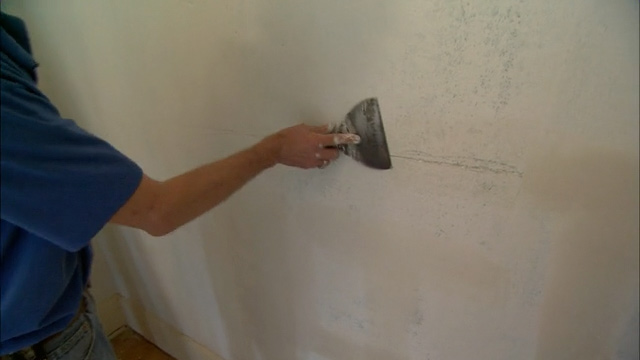
Applying the First and Second Layers : Sufficient patching plaster needs to be mixed and filled in the cracks completely. The edges and the back of the cracks need to be moistened with sponge. The surface of the still-wet patching plaster needs to be scored with the tip of a tapping knife. This scored surface helps in offering a very strong grip to the second layer of the patching plaster. The first layer should be allowed to set for half an hour and then the second layer of the patching plaster should be applied.
Completing the Restoration Work : Post applying the first and the second layers, you need to sand the area smooth by using a good quality sanding block. Once you are done with this step, your plaster restorations and repairs work is completed.
It is time for you to enjoy the beauty of carefully remodeled and restored plaster work all over again.